by Andrea West
Posted on 2017-06-02 10:32:43
This tutorial goes over the steps a landlord needs to follow in order to add a bank account information to theirSmart Housing portal.
Step 1 - From the Dashboard page, go over to the sidebar and click on 'Money.'

Step 2 - Click on the grey 'Add Bank Account' button or the green (or blue) 'Add Bank Account' button.

Step 3 - Fill in your bank account information. Then select 'Next.'

![]()
Step 4 - This page lists your bank account information. Make sure it is correct.

a - On the same page, read the instructions at the bottom. They explain important steps you will need to follow later.

b - If all the information for your bank account looks correct, select 'Next.'

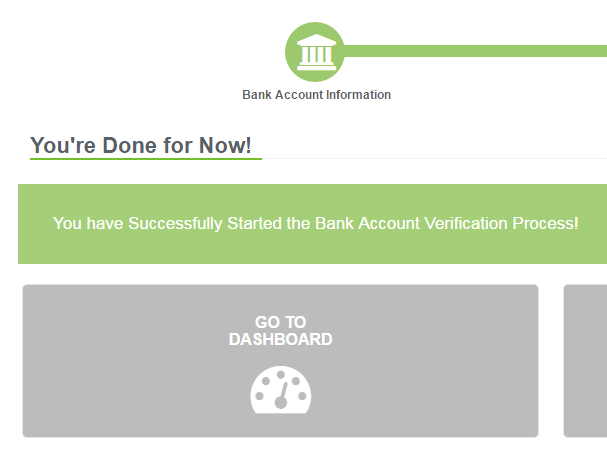
Step 5 - A screen will show that your bank account has been added. But now you need to verify your bank account before you can use it.
To Verify Your Bank Account
Step 1 - Once you have submitted your bank account information, in three to five business days you will see two small deposits from Smart Housing show up in your bank account. When you see these, login to your Smart Housing account.

Step 2 - From the Dashboard page click on 'Money.'
Step 3 - You will see your bank account listed in the Bank Account box. It will list the name you gave your bank account and will say Verify Account. Click on 'Verify Account.'

Step 4 - A small box will pull up and you will put in the numbers of the two small deposits you received from Smart Housing. Do not put in decimals. The deposits will always be two digits long.
For example, if one of the deposit numbers was forty-nine cents, put in 49. If it was six cents put in 06. Sixty cents would be 60. After you have typed in the deposits, click on the green (or blue) 'Save Changes' button.

Once your bank account has been successfully verified, you can use it to receive rent payments.
Have a Question? Need Help?