by Andrea West
Posted on 2017-06-02 10:32:52
This tutorial will help you add a resident.
Step 1 - After you have added a property you can start adding residents. To do that, from the Dashboard page go to the sidebar and click on 'Residents.'

Step 2 - Now click on the green (or blue) 'Add Resident' button.

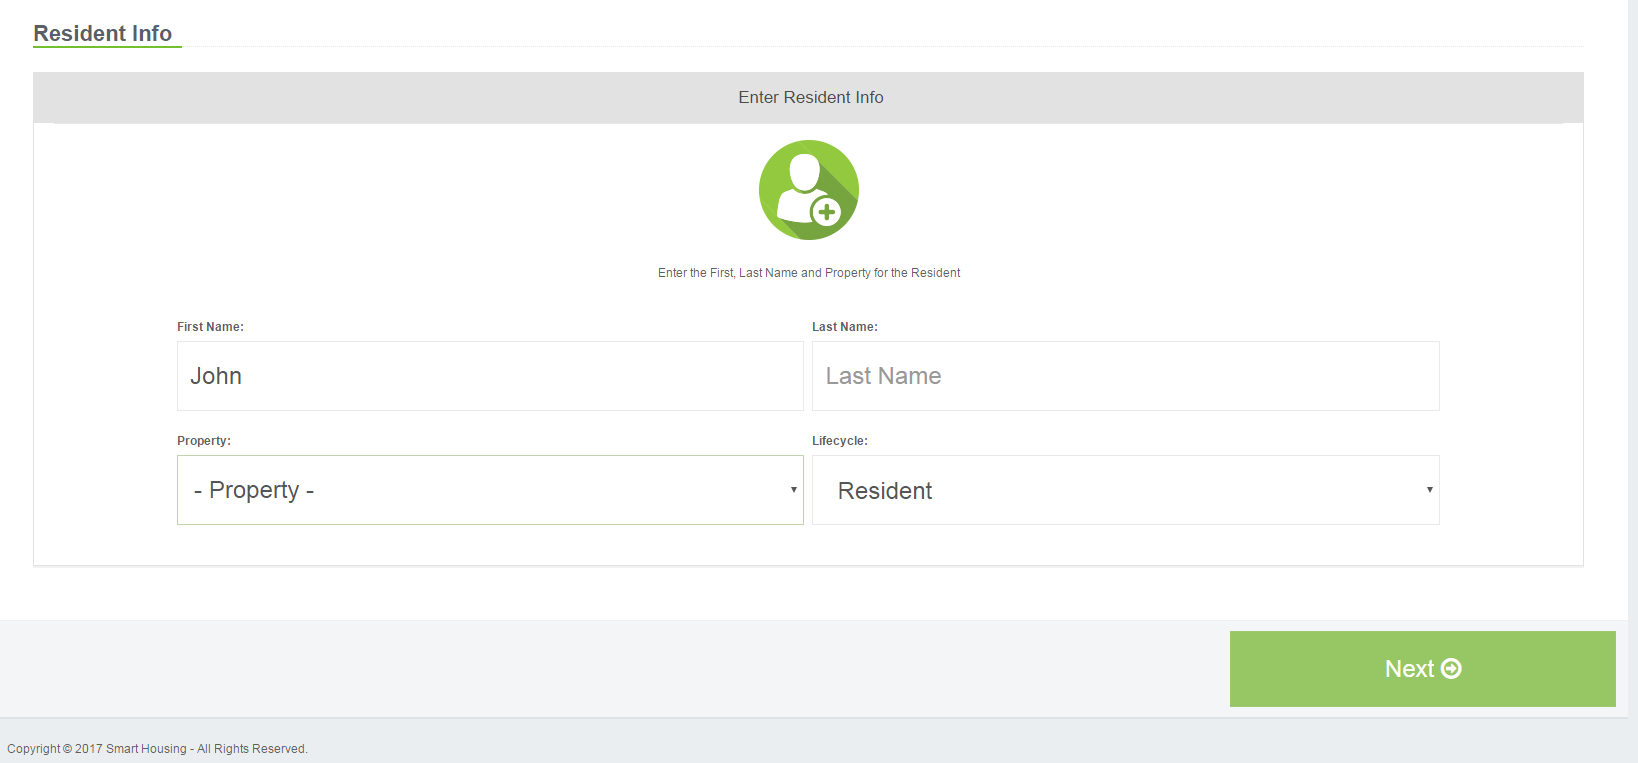
Step 3 - Fill in your resident's name, select the property they reside in, and select that they are a Resident. Click 'Next.'
What you see now is their resident profile page.

Step 4 - Now you need to assign them to a specific unit or address. Go down to the box titled Occupancy.

Step 5 - Once you have found this box, click on its green (or blue) 'Add' button.

Step 6 - Put in your resident's specific unit or address information and their move-in date. Then select 'Save Changes.'

Step 7 - Add in other resident information that you want available.
a - Add in their birthdate then select 'Save.'

b - Add their phone number - click on the green 'Add' button, put in their phone number information, and select 'Save Changes.'

c - Add their email address - click on the green 'Add' button, put in their email information, and select 'Save Changes.'

d - Add in their pet animal information - in the Animals box, click on the green 'Add' button, put in the animal information, then select 'Add Animal'


e - Add in their vehicle information - in the Vehicles box, click on the green (or blue) 'Add button, put in the vehicle information, then select 'Add Vehicle.'


You have now successfully added your resident.
Have a Question? Need Help?